2026 Expert Solution How to Insert a Check Box in Word
If you’re wondering how to insert checkbox in Word, you’re not alone. This is one of the most common questions we receive from clients who want to create checklists, surveys, or interactive forms inside Microsoft Word.
Step 1: Enable the Developer Tab in Word
Before you can insert a checkbox, you must enable the Developer tab. Microsoft hides it by default.
Here’s how to turn it on:
-
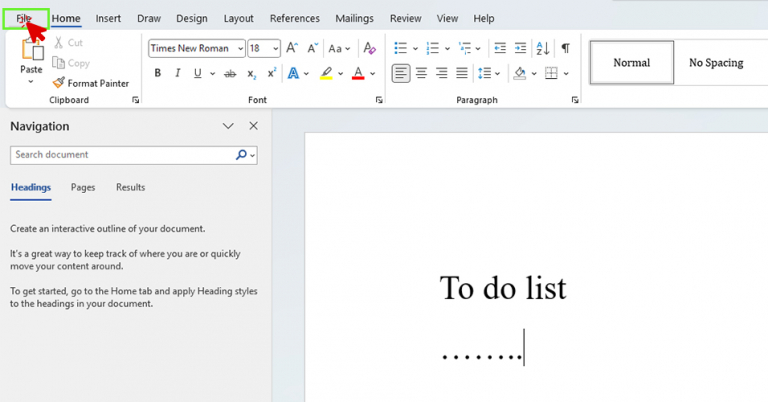
Click File
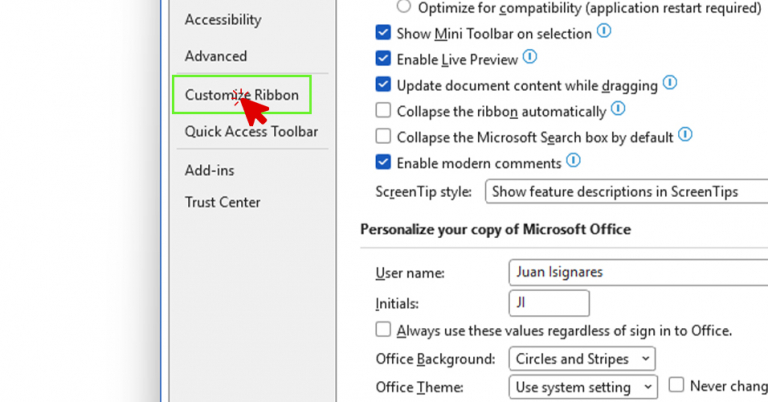
2. Select Options

3. Choose Customize Ribbon
4. On the right side under Main Tabs, check the box for Developer
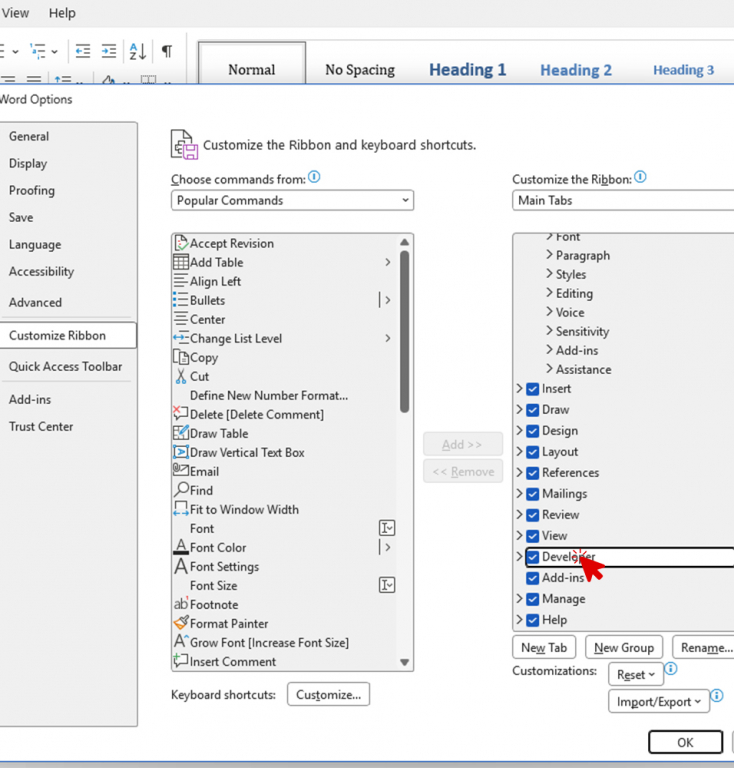
5. Click OK
You will now see the Developer tab in the top ribbon.
Without this step, you will not be able to add interactive checkboxes.
Step 2: Insert the Checkbox
Now that the Developer tab is visible:
-
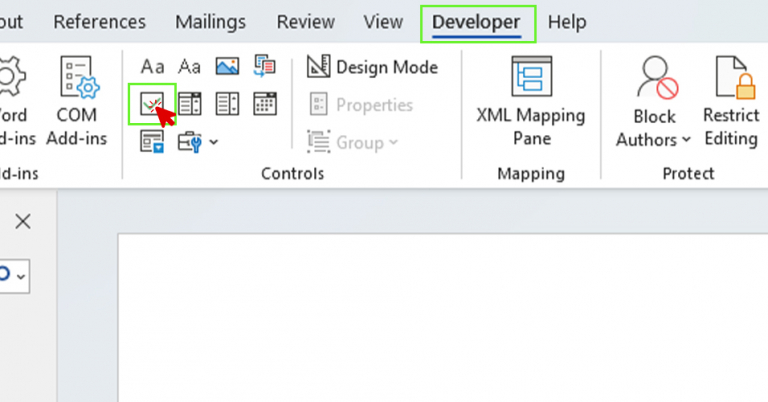
Click the Developer tab
2. In the Controls group, find the icon that looks like a small square with a checkmark
3. Click the Check Box Content Control icon
A clickable checkbox will appear exactly where your cursor was placed.
You have now successfully completed the core step in how to insert checkbox in Word.
Step 3: Customize
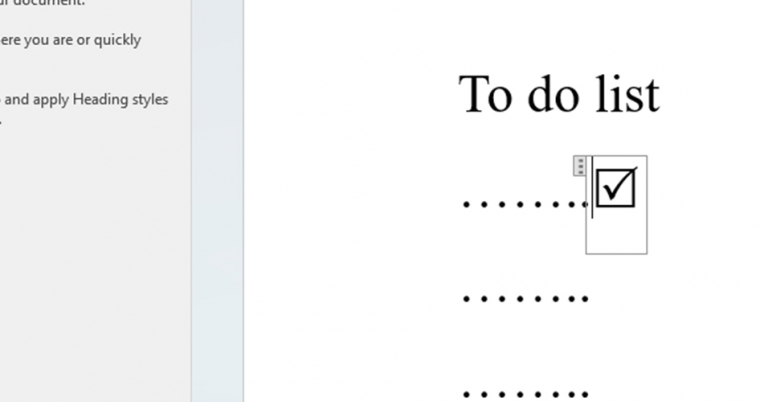
To turn the x into a checkmark:
-
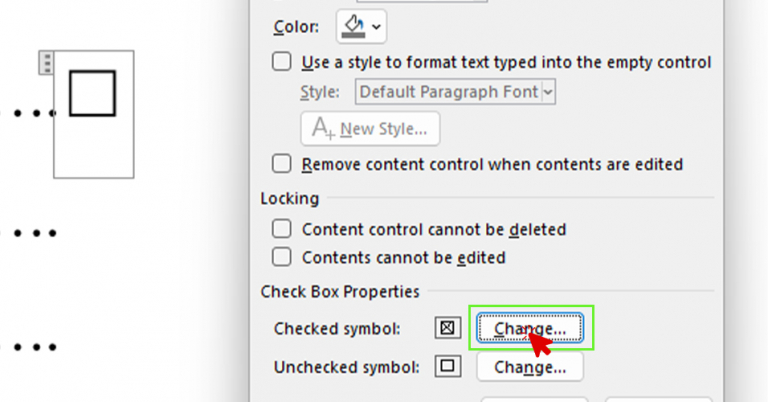
Again, in the Developer tab go Control – > Properties

2. In Content Control Properties press the changed for checked symbol.
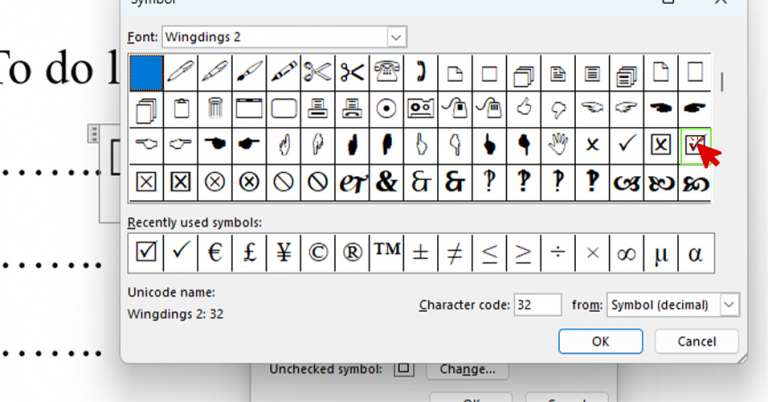
3. Select the Wingdings 2 font and then from the selection choose the checked symbol.
4. Repeat this process for each item in your list or form.
Expert Solution Provided by IT Service Provider
If your organization frequently creates forms, onboarding packets, or internal checklists, setting up standardized templates with protected checkboxes can save time and reduce errors.
If you run into issues or need help creating secure, company-wide templates, working with a trusted managed IT provider ensures your Microsoft 365 environment is configured properly and securely.
Other Helpful Guides:
Expert Solution for How to Encrypt Emails in New Outlook
Expert Solution for How to Find External Links in Excel
Expert Solution for How to Disable Microsoft Office Click To Run